Unzip files in Managed WordPress
You can unzip (extract) files in your Managed WordPress plan through the File Browser. A zipped file is a compressed file format that allows you to store and transport multiple files in one location. To unzip a file, you'll first need to identify if it's a zip file. Look for the extensions .ZIP or .zip at the end of the file name.
- Go to your GoDaddy product page.
- On your My Products page, next to Managed WordPress, select Manage All.
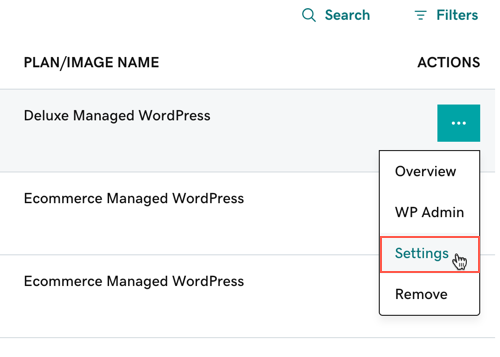
- For the website you want to unzip a file in, select Settings from the
 menu.
menu.
- On the Settings page and in the Tools section, next to File Browser, select Open.
- Once inside the File Browser and from the left-menu, select the folder you want to upload your zip file into.Note: In WordPress, zip files will usually be plugins or themes. These should be uploaded to their corresponding folder in the /wp-content folder. For security reasons, PHP execution is limited in Managed WordPress.
- From the toolbar, select Upload. Drop your zip file onto the space provided or select Browse to locate and select it from your local computer.
- Select the zip file you uploaded, select the menu from the toolbar, and select Unarchive.
Example: You're uploading a zip file containing a plugin your Web Designer provided. You'll open the /wp-content/plugins folder and upload the zip file. Once your plugin zip file finishes uploading, you can unarchive it. After it has been unarchived, sign in to your WordPress Dashboard to activate the plugin.
Congrats! You've uploaded and unzipped a file. Check out the related steps for information on activating your plugin or theme.
