Add my Professional Email to Outlook on iPhone or iPad
Step 5 of the Set up my Professional Email series.
Add your Professional Email account to Outlook for iOS. Then you can send and receive email from your iPhone or iPad.
- Open Outlook. Don't have the app? Download it at the iTunes App Store.

- If you're a new user, skip to step 4. Otherwise, tap
 the account menu, and then
  Settings.
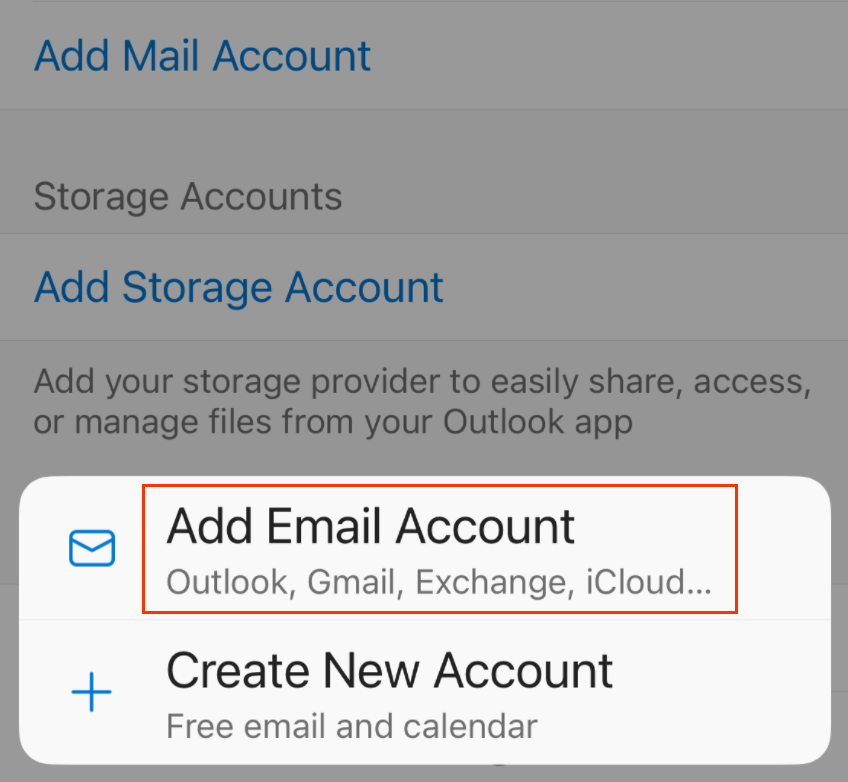
 - Tap Add Mail Account, and then Add Email Account.
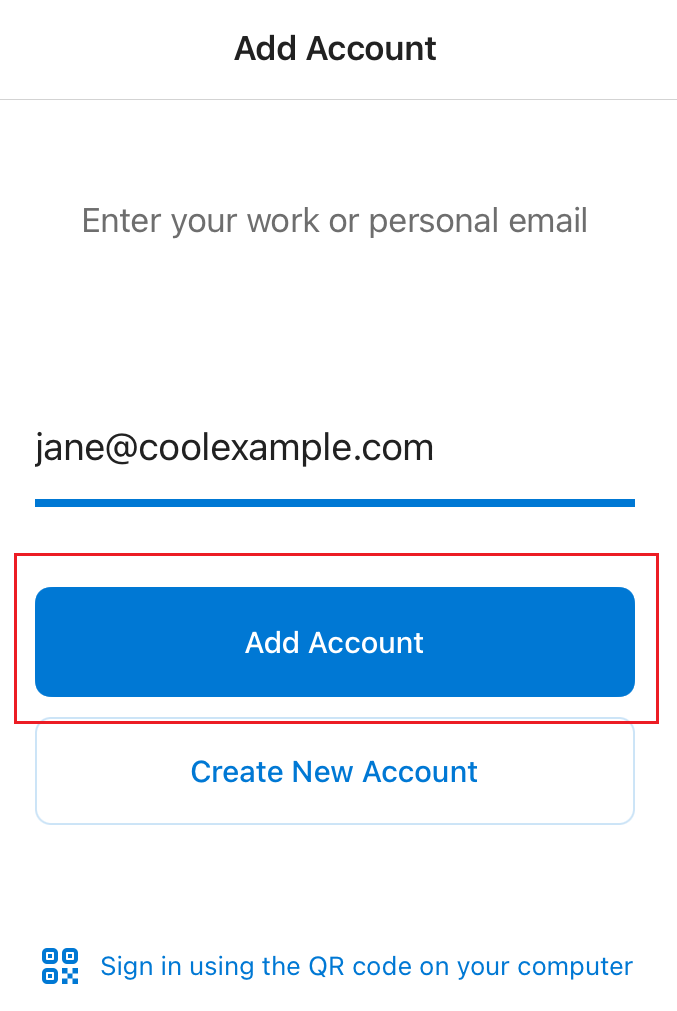
- Enter your Professional Email address, and then tap Add Account.
- Enter your password, display name and description (like your company's name or email type), and then tap Sign In.
- If Outlook cannot detect your IMAP server settings, enter the following settings, and then tap Sign In (If Outlook was able to detect your settings automatically, skip to the next step).
- Under IMAP Incoming Mail Server, make sure the fields are as follows:
- IMAP Host Name: imap.secureserver.net
- Port: 993
- Security Type: SSL/TLS
- IMAP Username: Your email address
- IMAP Password: Your email password
- Under SMTP Outgoing Mail Server, make sure the fields are as follows:
- SMTP Host Name: smtpout.secureserver.net
- Port: 465
- Security Type: SSL/TLS
- SMTP Username: Your email address
- SMTP Password: Your email password
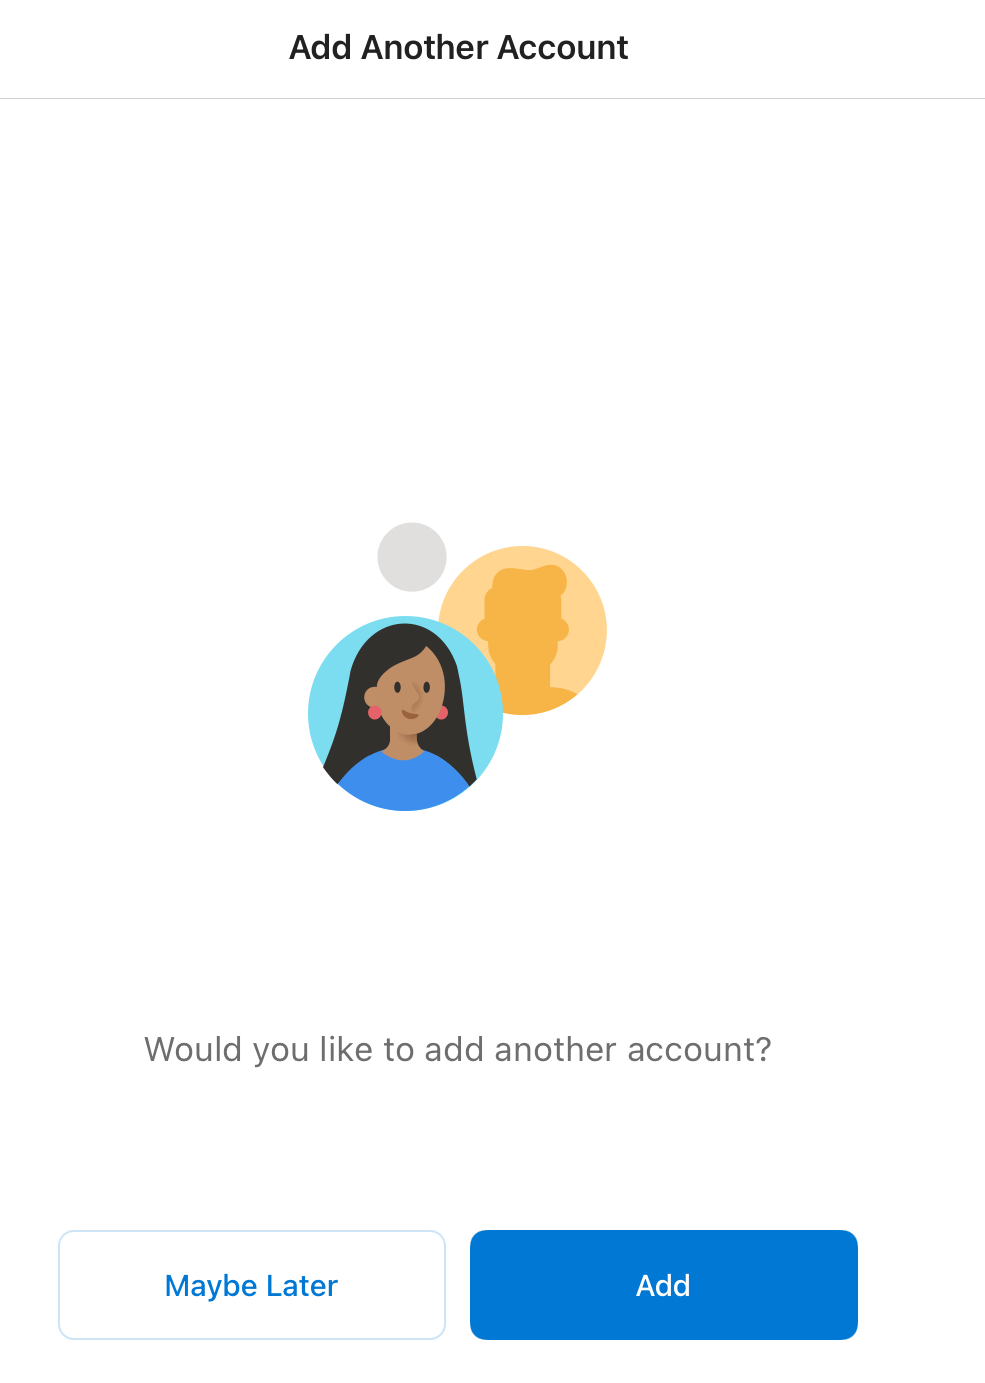
- If this is your first email account on Outlook for iOS, you'll be asked if you want to add another account. To skip this step, tap MAYBE LATER. If this isn't your first account, you'll see your inbox.
Your email is on your iOS device and you’re ready to go!
